
Flip the Boat and Finish UP the Top Side

While setting up the router with a laminate trimming blade, I realized that the curvature of the surface would not provide an even cut. I made a fixture to keep the router on the same plane as the gunwhales of the cockpit.

Lower view of the trim operation. The first coat of epoxy has been sanded for a good bond for the cockpit coaming.

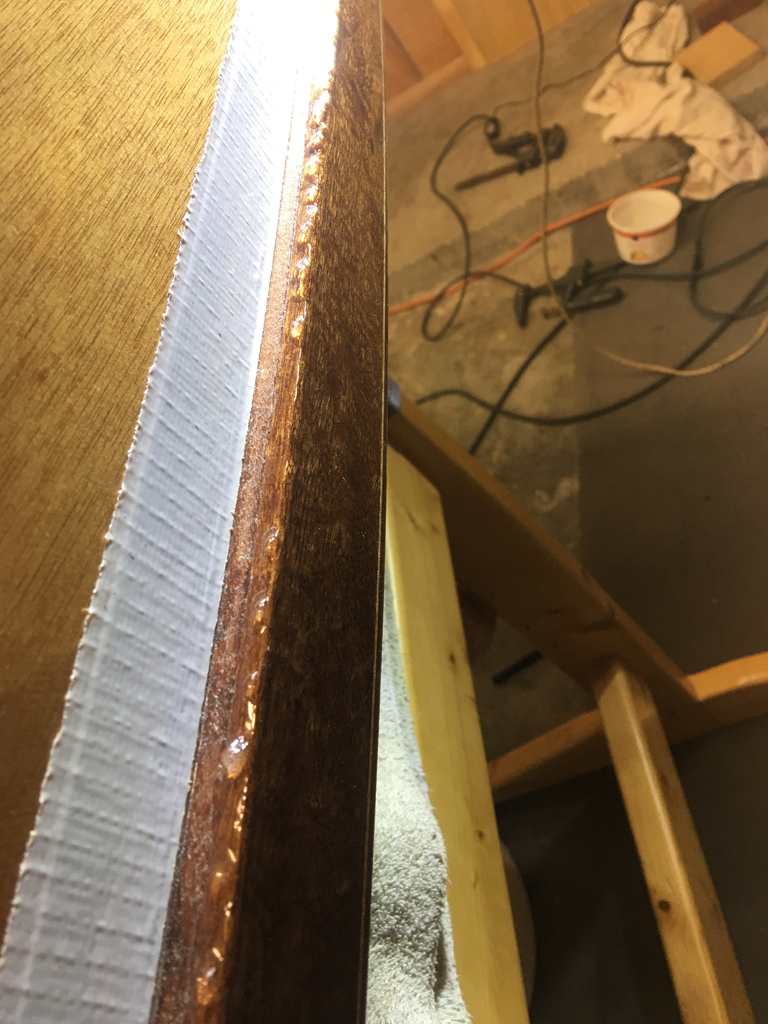
The same fixture was used on the deck for trimming the deck to the toe rail.
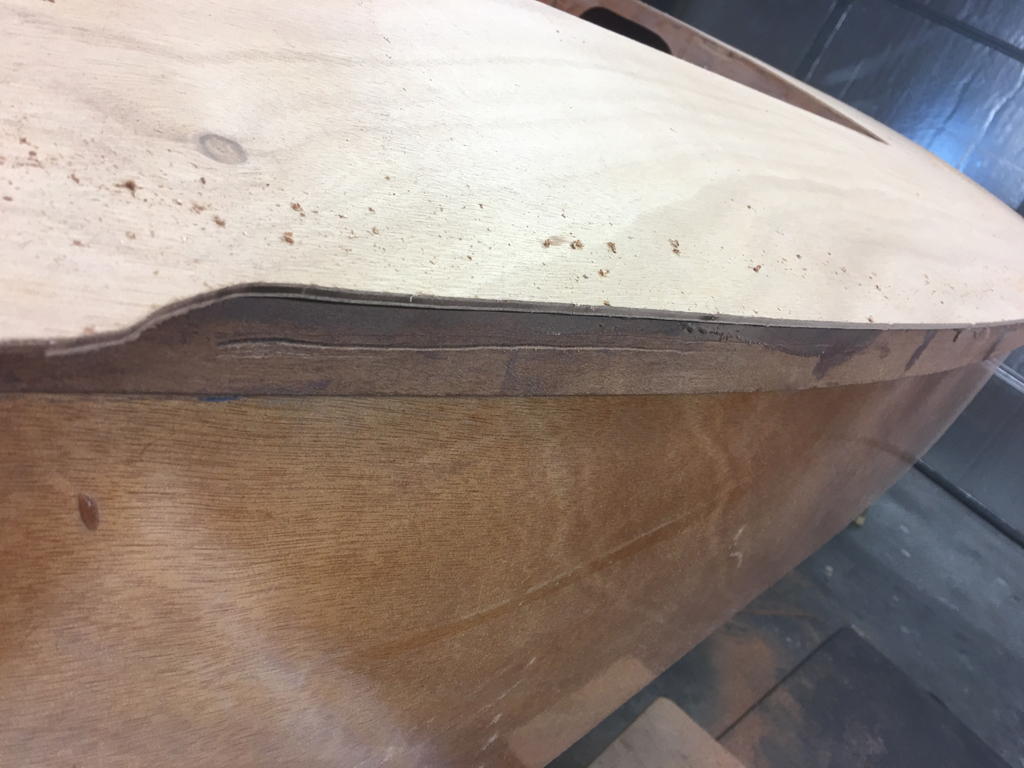
Finished trim.

Cleaning up with one of my favorite tools again, the Japanese block plane.
Cockpit Coaming

The front corners of the cockpit coaming was joine with dowels. The side holes were drilled with a centering wood bit and dowel center transfer plugs placed in the hole. A light tap creates a perfectly aligned pilot divot for the dowel holes on the fore coaming.

The coaming is glued in place with several clamps and wood pieces.
Prep for Epoxy
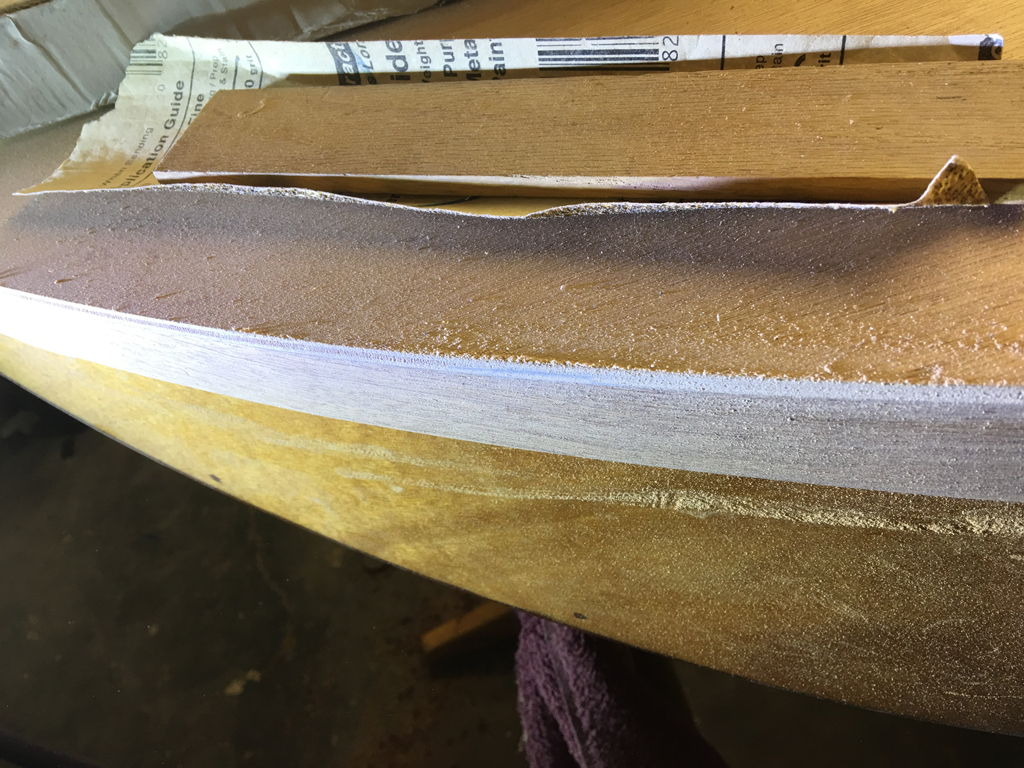
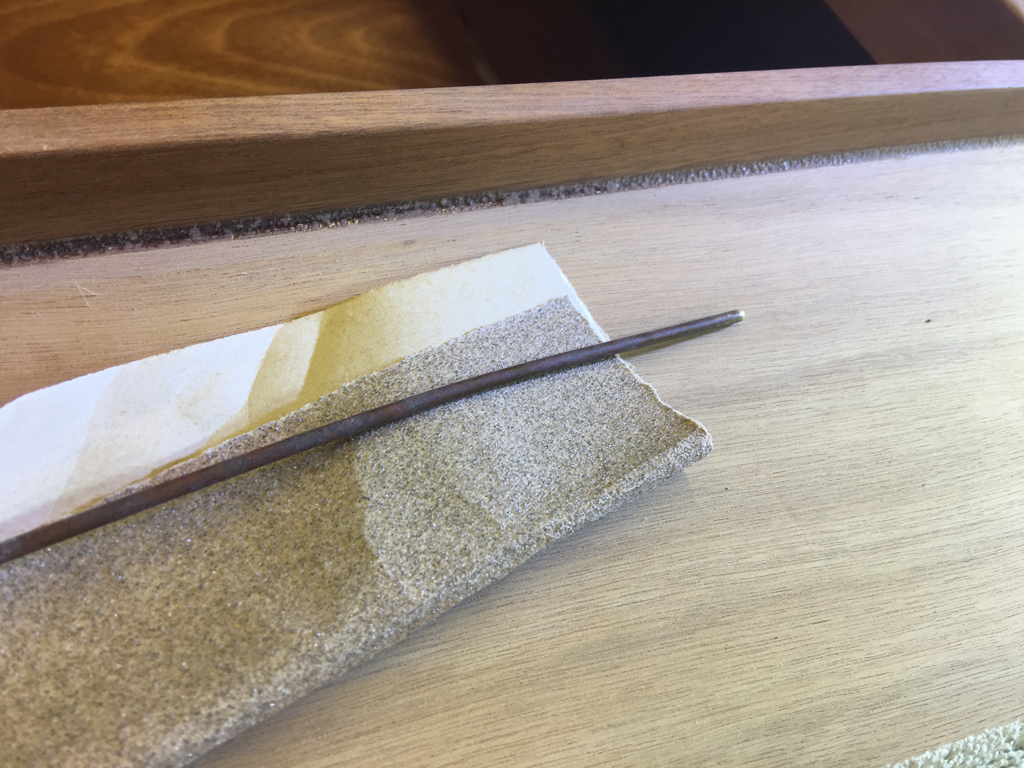
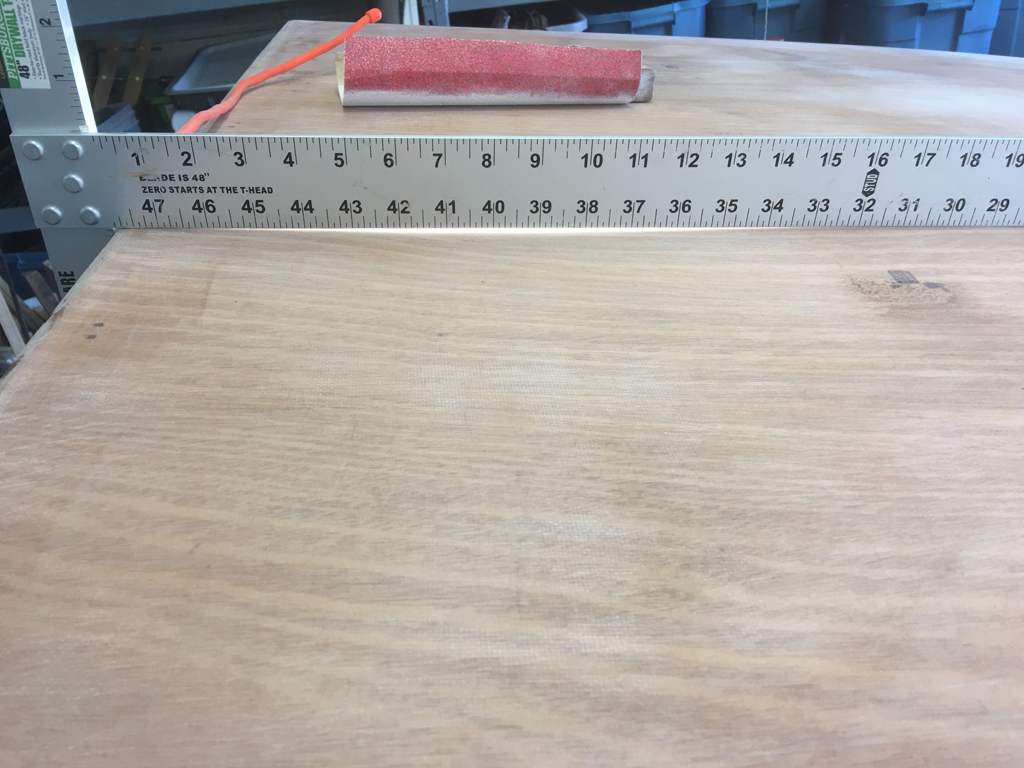
Toe railing, block sanding 60 grit and finishing at 120
Fairing the coaming to deck joint with small brass tubing

Finished joint, ready for epoxy.
Laying Down the Epoxy on the Deck

The build manual calls for a layer fiberglass on the deck, but I felt there was enough strength in the plywood without it. The first layer has a few bubbles at the surface, but they sand out nicely. I used 120 grit between coats with orbital palm sander. It needs to be dull all over for next coat to get a good mechanical bond. I apply the epoxy with 3/16″ thick x 9″ long yellow foam roller by Wooster (Lowes SKU 71497 11626), They are reusable, but not practical for epoxy work.
My goal was to get about 3 full coats of epoxy down. I laid the first two coats rather thick and let it cure a couple days. If you get the coats on within 24 hours there is a chemical bond, and reduces the need for sanding between coats. As my experience and technique improved, the third coat went on a lot smoother. There were situations that a lot of a single coat was either thin or required a bit more sanding, so the overall job was 3-4 coats total.
The fist coat of epoxy is poured on quickly with a roller and a lot of action to even the distribution across a narrow area the full length of the area. A slow final pass with the roller is done from the end of the area towards the beginning point, then a single continuous stroke with a 4″ foam brush from the start end to the finsh.
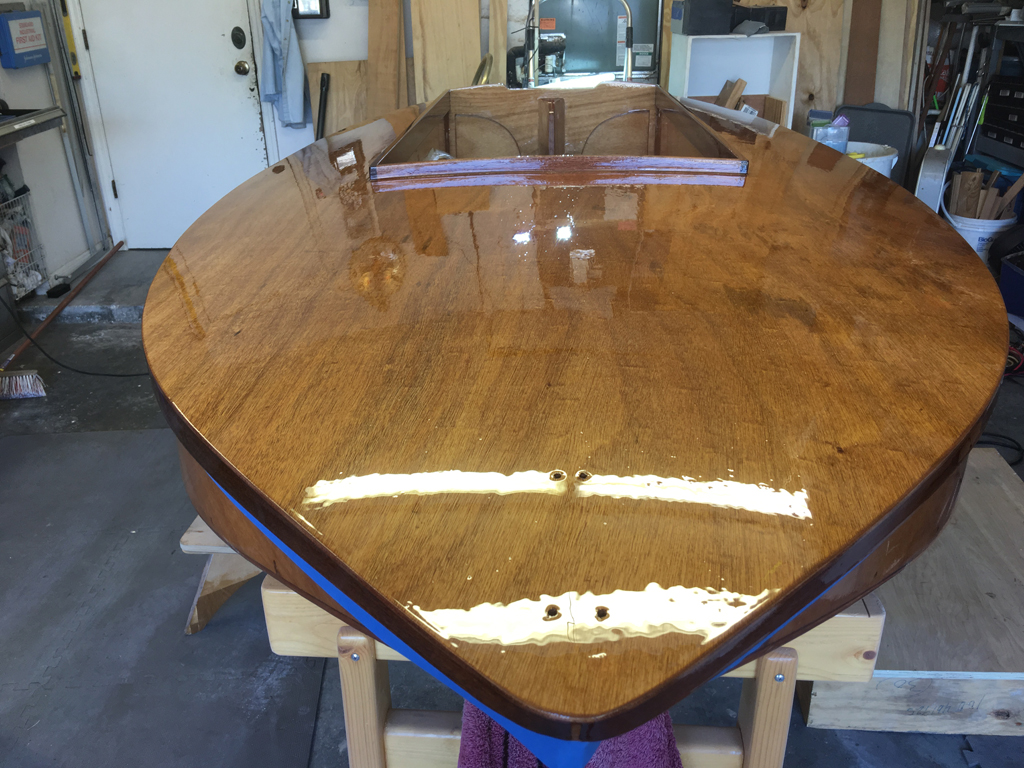
On the last coat before varnish I sanded the epoxy with 220 grit with orbital then hand sand with 360 wet with some dish soap in water. I use low to medium revs on the sander.
Prepping the Cockpit for Epoxy

I used an assortment of sanding blocks and dowels with 80 grit paper up to 120 to fair the fillets that are exposed in the cockpit. I also used a dremel with a flexible shaft with some innovative attachments to get into the corners for access. As we will see a bit later, I would advise starting with large fillets and don’t be too aggressive with thinning them out.

I did a lot of positioning to be able to lay out epoxy on horizontal surfaces to reduce runs. Lots of light also helps see what is going on.

The biggest problem with working horizontal is that any dust in the air will find its way to the epoxy as it cures.
The toe rails needed some serious clean-up. I started with a little bit of protection.
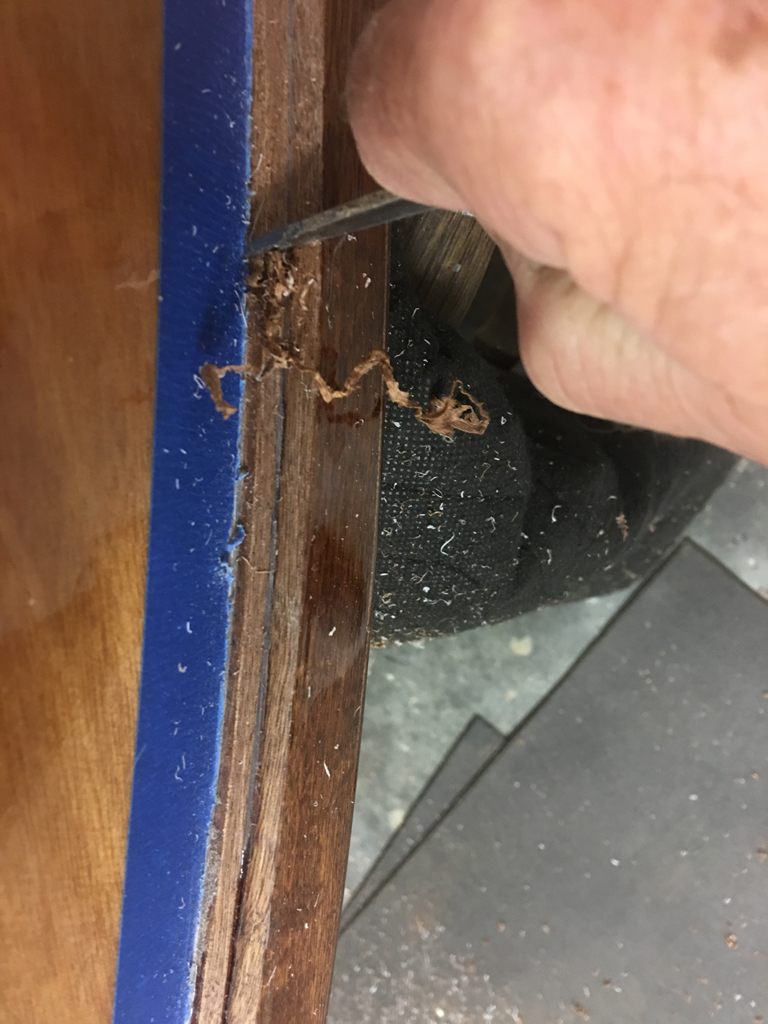
I experimented with sanding blocks, chisels and other things, but finally settled on an old pair of disassembled scissors as a scraper.
Fairing the Bottom

One of the most critical areas of the build of the boat is the three feet of the bottom just ahead of the transom. The area starting from the transom going forward 24″ from the transom to 36″ at the keel must be perfectly flat. The smallest amount of rise or dip (like the thickness of a credit card) can produce severe porposing ( hobby-horsing) at planing speeds. It is caused from drastic changes of drag caused by the low spots and the changing angle of the water across it. More on that later…

I used a LED lamp designed to retrofit a 20 watt fluorescent fixture as a light source behind a straightedge to view the gap.
This allowed me to view the irregularaties in the bottom in order to fill and sand them flat. I made the mistake of laying the fiberglass over the first coat, making it difficult to sand down without going into the fiberglass. Again, more on that later