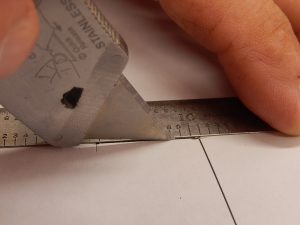
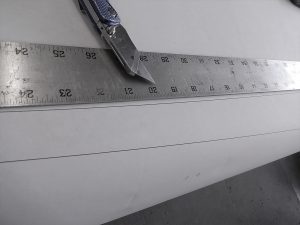
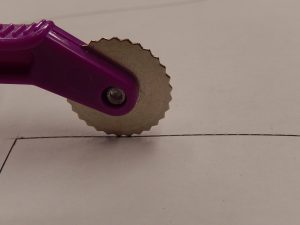
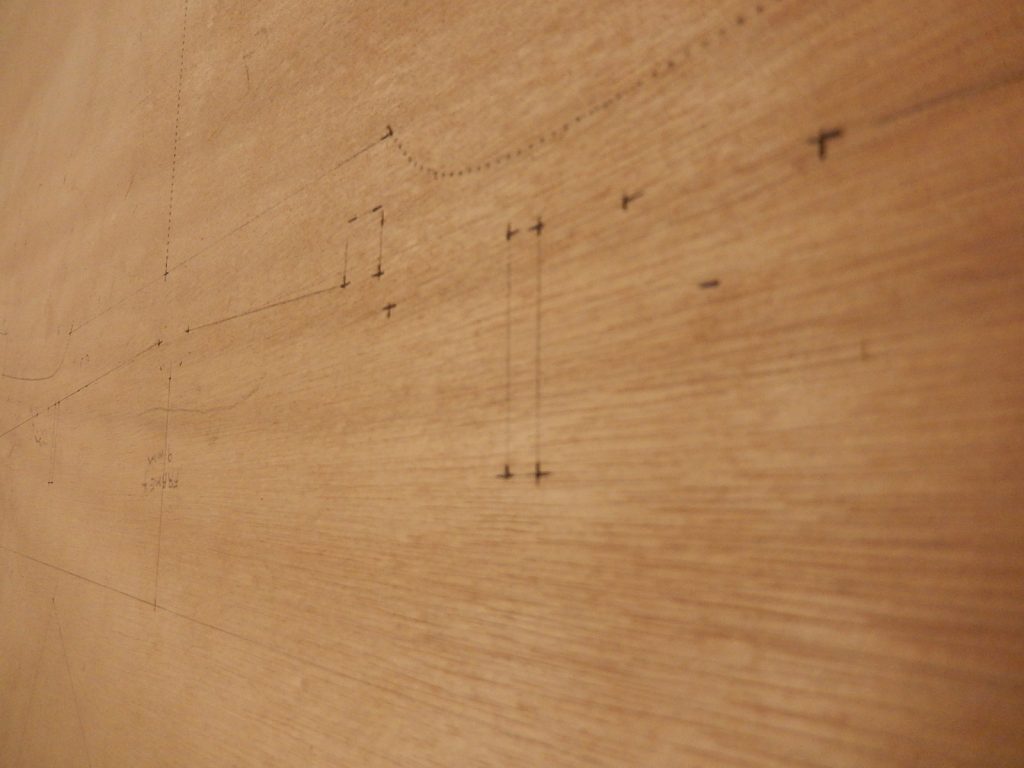
The patterns for the 32 plywood piece parts were printed on full size paper sheets measuring 3′ x 8′. The plans called for cutting out and tracing the larger parts, or transferring the shape to the wood by punching through the paper with an awl. I devised a method using carbon paper and the dull back side of a razor knife as a scribe. This allowed me to very accurately mark the wood with the use of a ruler or a star wheel for the curves. (Thank you, sewing lady.)

For accuracy, I found that a small cut through the paper transfers a well placed mark on the wood below.

Straightedge placed at ends of line, using ruler to guide blade away from the ruler to follow the arc.
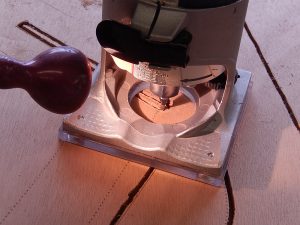
I used my small laminate router with the bit set a few thousandths of an inch shy of cutting through the wood. A razor knife was used to trim out the pieces from the sheet when all of the cutting was completed.
I was concerned that it would be difficult to control the close tolerance using a router, but this method proved to be incredibly accurate and very easy to control.

A LED reading light was attached to the router and a small table fan helped to keep the sawdust clear.
It took very little planing and sanding to true the edges to the lines.
Note: the small block plane in the background is one of my favorite tools, a Japanese wood block plane. It is adjusted by tapping on the end of the blade or on the block, and costs less than $10.

I found this used Harbor Freight drum sander on Craigslist, a great tool for smoothing internal edges.
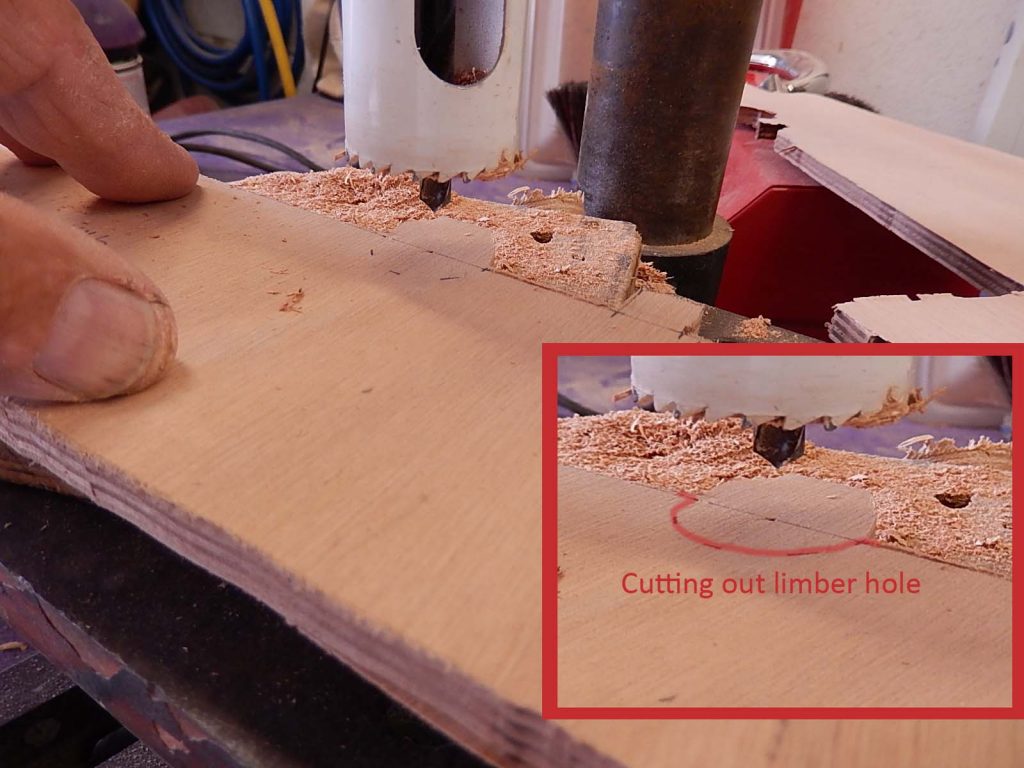
The frames all have limber holes to allow water to flow to adjacent compartments above the boat bottom. I used a drill press and hole saw to form the cuts, making them slightly larger that specified for quick easy drainage.


