
Finally – Building a Boat
After a lot of reading, planning, laying out, cutting, sanding and sweating, I am still looking at a flat pile of wood.
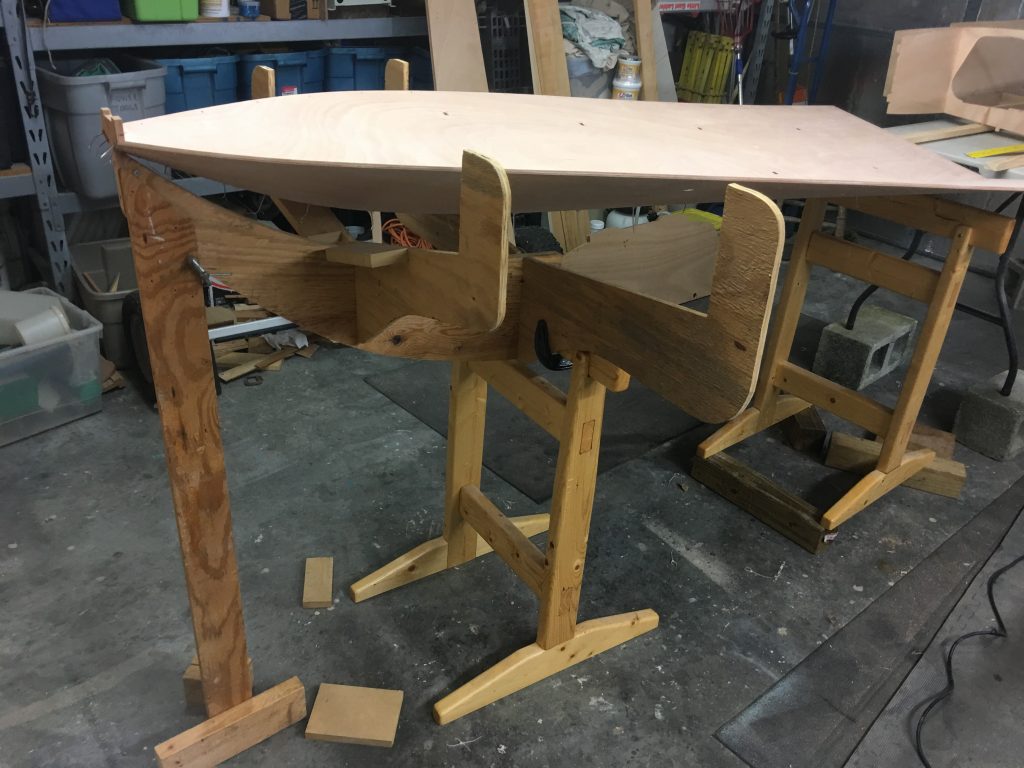
The jig is ready, the materials are ready and we are finally ready to put the boat together.
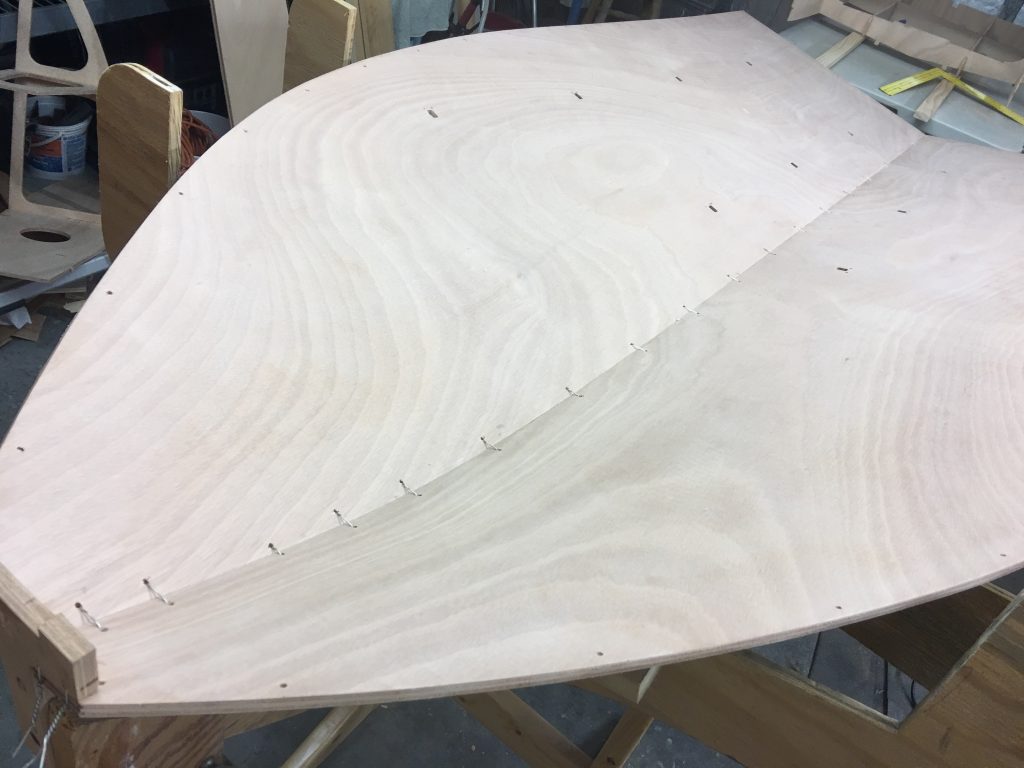
The two bottom halves are first stitched together with one laid on top the other. The two pieces are then opened like a book and placed into the jig. The curved edges at the join give the bottom a nice shape.
The method of construction used is known as stitch and glue
Stitching refers to the use of copper wire, stainless wire or similar methods to hold the pieces in place. Small holes are drilled in the wood near a joint and a small loop of wire or a tie-wrap is tightened to hold the pieces in place. The panels and frames are then glued with epoxy that is mixed with a thickener and allowed to cure. The fastener is then cut and pulled out, or trimmed and left embedded in the wood.

A safety wire wrap tool from Harbor Freight is a handy tool for spinning .041″ stainless steel wire, also from Harbor Freight. The bow section needed the stronger stainless steel wire due to the added pressure of the curved panels.

I found the use of tie wraps were much quicker to place and did not cut into the wood panels. They worked nicely for the bulkheads and straight panels that did not require much pressure.
Within just a few hours of fitting, the frames go together and it is suddenly looking a lot more like a boat.

Alignment is very important at this point. It is about to become one very solid piece.

The strength achieved in glue-and-stitch construction comes from the bond between the many thin components of wood, much like a cardboard box.
Gluing

We take a few ounces of epoxy with just the right amount of wood flour and hold it at a cool temperature to keep it from kicking too soon. A pan of ice cubes can be used, and getting it spread out quickly lengthens pot life also.
Let’s Put Icing on the Cake

With all of the frames in place and everything stitched up, the glue was mixed up and thickened with wood flour. When properly mixed, it has the consistency and even looks like peanut butter.
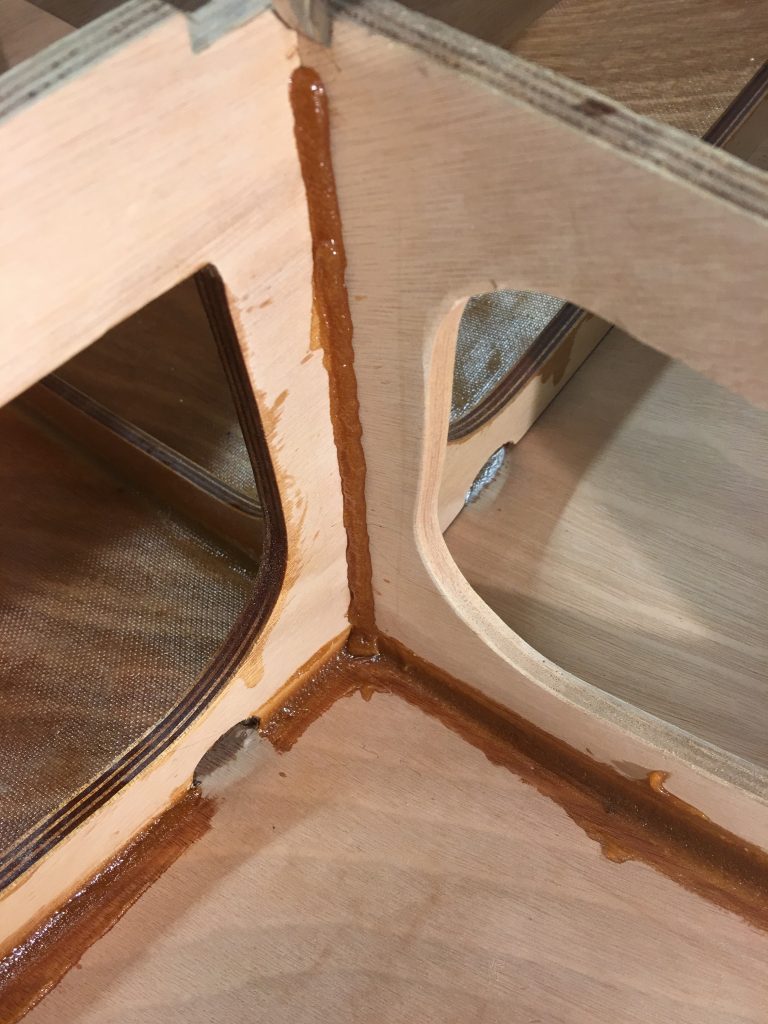
Fillets are applied to join the structure.

Although the spelling makes you think of steaks on the grill, here we are using the kind that mechanical engineers use to round an interior corner to add strength. And it rhymes with what you do with an empty cocktail glass. Fill it.
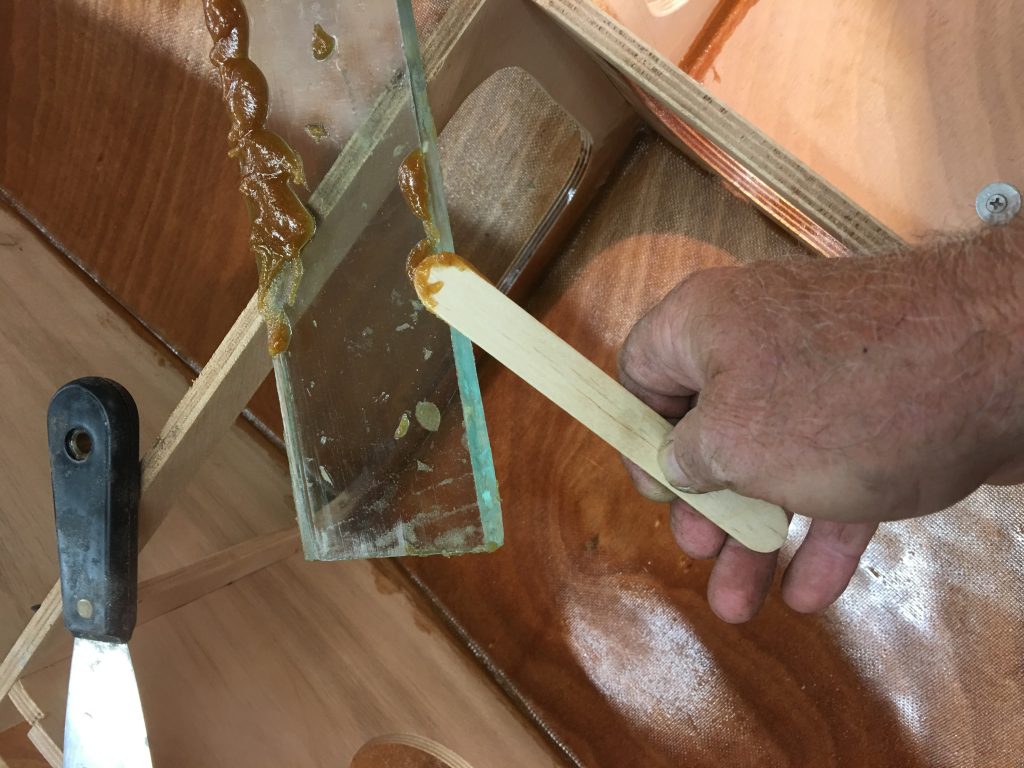
Tip: A piece of glass makes an excellent pallet for mixing, applying, and cleaning up epoxy. It is easy to clean with a razor blade after it kicks.

Cleanup with a putty knife
Just a few tips I learned about mixing Epoxy

Most suppliers offer nice graduated cups that really look nice. I used the graduations a few times, mostly just to find that one pump of hardener and two pumps of resin provides somewhere around 3 ounces of mix. That is the typical amount I used at one time. Beyond that, I found the pumps to be very accurate for mixing larger batches. Even though the cups can be re-used after the resin is hardened, I found that cleaning the requires quite a bit of flexing and beating on them, they usually didn’t last more that 3 or 4 mixes.
- I started using a small 16 oz. cottage cheese container and the same one has lasted for almost the entire project. It is flexible enough to pop the hardened epoxy out with minimal effort, yet there are no issues with it holding up.
- Mixing cups and trays that are left with a thin hardened layer of unthickened epoxy can easily be cleaned with compressed air, scratching the epoxy with the tip of the blowgun. The tip knocks it loose and the air peels it away nicely and blows it all over the shop.
- When small batches were needed, the inexpensive plastic measuring spoons in the picture below gave very convenient and accurate results. When using the Silver Tip E-Z Fillet and GelMagic Structural Adhesive I found it very difficult to judge the volume of a 2 to 1 mix that is not a liquid. The elongated spoon ends work very well with the tongue depressor sticks used for mixing. I always use a specific color for resin and a different color for hardener to prevent cross-contamination.